Tuesday, August 20, 2013

Homemade Baby Food Part 3 -- Peaches

Who doesn't love peaches? I bought 6 peaches to make into baby food and by the time I was ready to prepare them, was down to 4 (I snuck one, my hubby the other). We must be a peach-lovin' family because Titus couldn't get enough of these! Like all of my baby food recipes, this is super easy... and you can feel good about knowing what goes into it!


Peaches for Baby: 

Ingredients:
Organic peaches (I used 4, but use as many as you can keep from the rest of your family! You can freeze any extra!)
A pinch of love (hehe!)
 
Step 1: Pre-heat oven to 400 degrees. 

Step 2: Wash your peaches. 


Step 3:Cut peaches in half, remove pits.


Step 4: Place peaches face down in a pan filled with about an inch of water. 


Step 5: Bake at 400 degrees for about 15 minutes. 

Step 6: Remove from heat, let cool.


We made a quick trip to Target while our peaches were cooling. Here's baby Titus in the cart, dreaming about those sweet peaches:


Step 7: Peel peaches. Once cool enough to handle, they are really easy to peel by hand, the skin comes right off!

Step 8: Add peaches to your food processor/blender.


Step 9: Puree on high until smooth.


Step 10: Pour into serving/storage containers of your choice and freeze what you won't use right away!


That's it!! So easy. 

Confession: I tried the peach puree and it's good. Like really good. 

Mom!! Please stop eating my peaches!! :)

That's all for now! Thanks so much for stopping by. Please feel free to message me or comment below to let me know if you have any questions or suggestions! 

-Alison

Thursday, August 15, 2013

Chicken Salad

Chicken salad is one of my favorite things to make. Here are a few reasons why:

1. It's light, tasty, simple, and quick.

2. I usually have most (if not all) of the ingredients in my house already.

3. It can be made in advance and enjoyed later. (make it on Sunday to pack in your lunch for the week, make it one evening and pull it out the next night for dinner, make it on Friday for your lunches all weekend, etc!)

4. It's versatile
     *great for lunch or dinner
     *put it on bread to make a sandwich, serve with 
      crackers, on a tortilla, or with lettuce cups for a low 
      carb option!
     *perfect to feed your family or for entertaining- (think bridal/baby showers, parties, pool days, etc.)


5. The homemade version is so much better than store-bought. (Trust me!! Anytime we try to buy chicken salad at a deli or grocery store, my husband is so disappointed since he's had the real deal!) 

6. Did I mention it's easy? 

Here's what you'll need:


For real... this is it!
Ingredients:
2 lbs boneless, skinless chicken breasts 
3 stalks of celery (this is the one ingredient I don't usually have on hand)
1/2 onion (I use the sweet yellow kind)
15-20 grapes
1 cup Miracle Whip (I use the "light" version)
Salt & Pepper to taste


Directions:

1. Bring water in a medium sized pot to a boil.


2. Reduce heat, add chicken breasts to water. Let chicken breasts simmer for about 20 minutes or until cooked through.


3. While chicken is cooking, dice celery and onion. Set aside.


4. Remove chicken from heat. Drain, let cool.

5. Once cool enough to handle, use a food processor or fork to shred chicken in a large bowl. 


6. Add celery/onion mixture, salt & pepper, and Miracle Whip to chicken. Stir until all ingredients are combined. 


I usually do a little "taste test" here. Add a bit more salt/pepper if needed or a little Miracle Whip if it seems too dry.

7. Slice grapes in half, add to mixture, stir well.


8. Store in refrigerator in airtight container until ready to serve. 


Everyone uses paper plates sometimes, right?!?! :) 


Again, this recipe is PERFECT for so many situations. This time, I made it the night before a big work meeting... I knew that when I got home from work the next day, I wouldn't want to cook or worry about dinner. We had chicken salad sandwiches and I had enough left over to take a wrap for my lunch the next day! 


-Alison

Saturday, August 10, 2013

Homemade Baby Food Part 2 -- Carrots & Sweet Potatoes

Today I made my second batch of baby food- carrots and sweet potatoes. It was so quick and simple, I almost feel like I shouldn't think of it as a recipe or blog-worthy. But then I thought about how I feel when I have any type of car issue- clueless, uncomfortable, frustrated, and unsure of myself. I mean really, someone at a car repair shop could totally take advantage of me and rip me off because I have absolutely no clue about anything when it comes to cars. Taking my car for an oil change causes me so much anxiety because I'm so out of my comfort zone... I figure some people must feel this way about cooking and being in the kitchen. (Does this analogy even make sense?) Ok back to the point...I'm here to tell you- making yummy, nutritious food for your baby is simple, easy, and does NOT require stress, even if the thought of being in the kitchen makes you anxious. Take a deep breath, trust me, YOU CAN DO IT! :)


Carrots for Baby: 

Ingredients:
Organic carrots (I had one large package, 9 total carrots)
Water


Step 1: Wash, peel, and cut the ends off of your carrots.


Step 2: Cut your carrots into smaller chunks, and steam them using the method of your choice. The key is to steam them until soft... mine took about 15 minutes.

     Like with my apples for baby, I used a double boiler pan to steam my carrots. I have had this simple pan since college and I love it. But, there are fancier options and specialized baby steamers out there too. Whatever works for you will work for your baby! 


Step 3: Transfer your carrots to your food processor/blender. 


Step 4: Add 1/4 cup of water and blend until smooth. 


Step 5: Put your mushy delicious baby carrots in storage containers of your choice and feed to baby as needed. I freeze my extras and pull them out the morning that I plan to use them. 


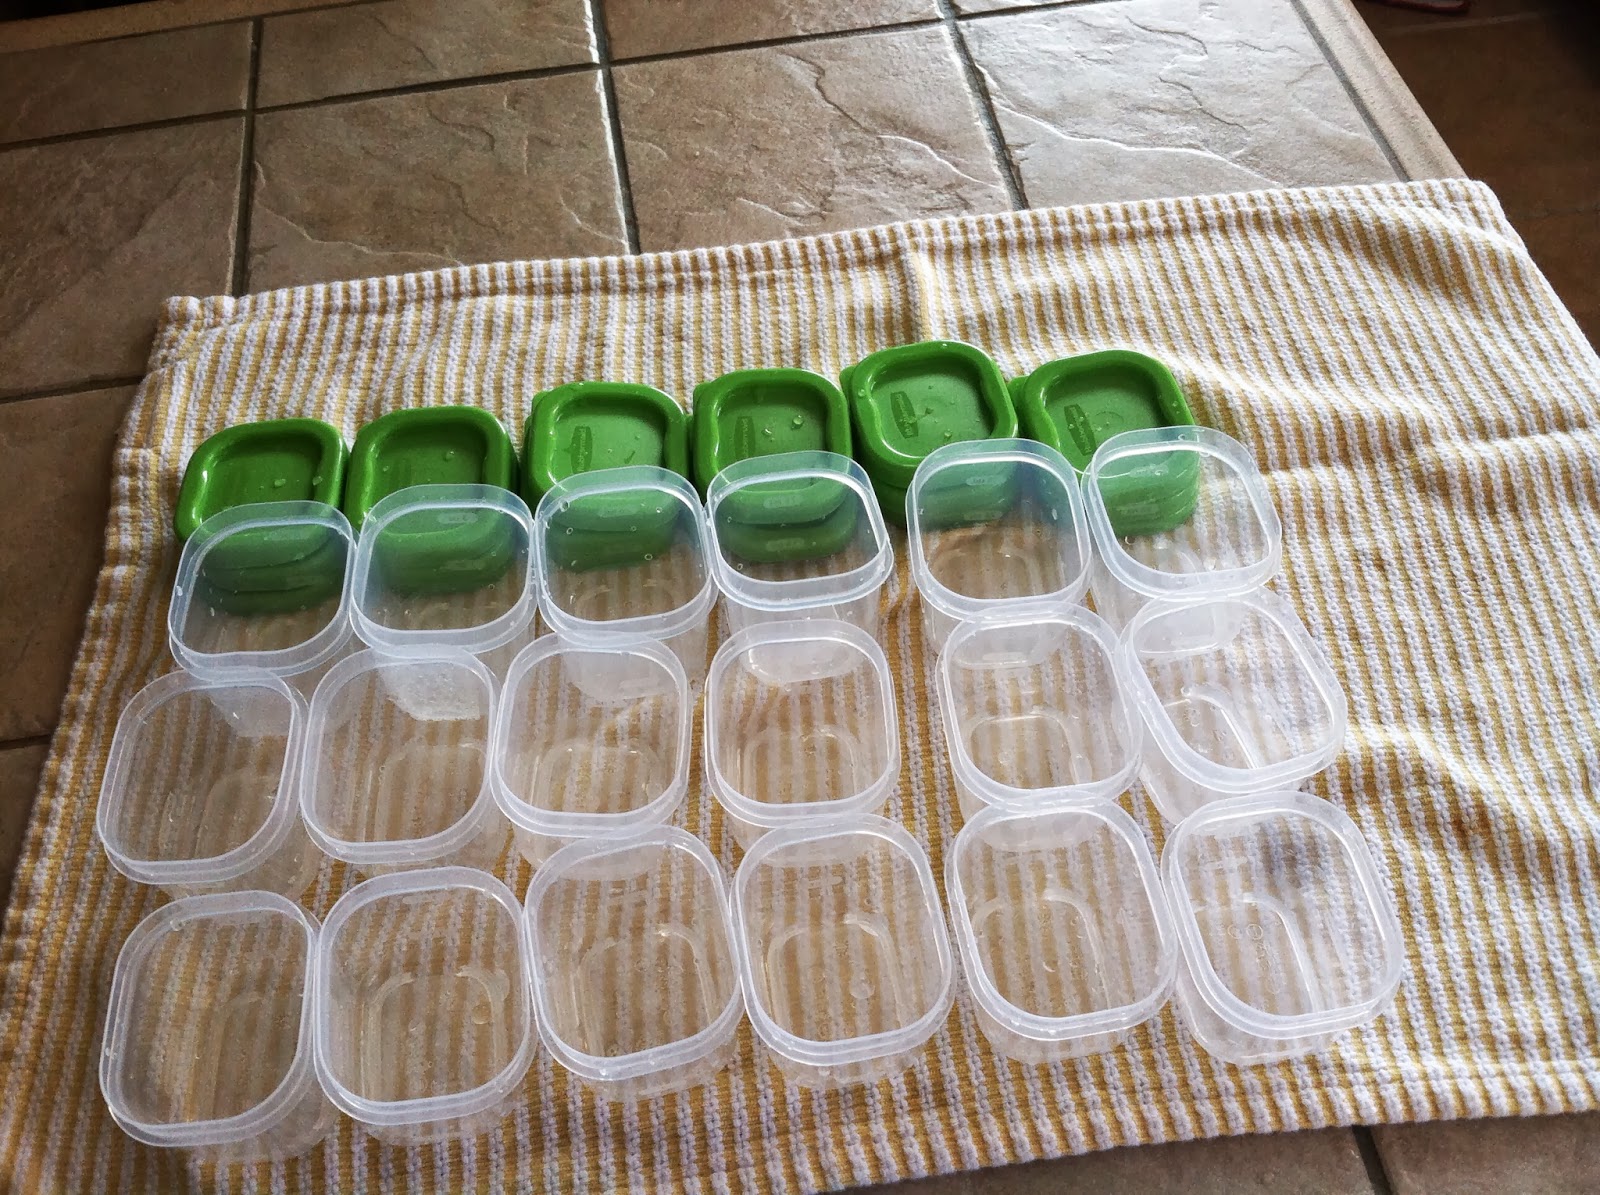
Note: To store my baby food, I use the tiniest BPA free containers I could find in the food storage/tupperware section. I love them! They are a great size, freezer friendly, and stackable. I know that they make adorable little silicone pods for baby food that can be found in the baby section at Target and Babies R Us. They are a little more expensive but are made exactly for baby food. Again, whatever works for you will be just fine! 


Baby Titus spends a lot of time in the kitchen. Here he is entertaining himself while the whole carrot/sweet potato thing was going on today...


Sweet Potatoes for Baby:

Basically, you are going to follow the same process as above... wash and peel your sweet potatoes, cut into chunks, steam, and process. Easy, right?! Your baby will love them! 

Ingredients:
Organic sweet potatoes- (I used 2 large ones)
Water


Step 1: Wash, Peel, and chop your sweet potatoes into small chunks.


Step 2: Steam until soft. This took about 7 minutes for my using my trusty double boiler. 


Step 3: Transfer potatoes to food processor. Add 1/4 cup of water for every 2 potatoes you use. Blend on high until smooth. 

Step 4: Pour pureed sweet potatoes into storage containers and freeze what you won't use right away. You're done!


Thanks so much for visiting! If you are interested in apples and avocados for baby, click here.


-Alison

Wednesday, August 7, 2013

Homemade Baby Food Part 1 - Apples & Avocadoes

So, I'm a new mama and loving it but by no means do I have things figured out. I'm sort of in a "learn as I go" place... I decided while I was pregnant that when the baby was ready to start eating solid foods, I'd attempt to make them myself.  I love being in my kitchen and preparing food for the people in my life... so I'm starting early with little Titus. 

 I try to eat somewhat healthy (meaning I try to eat fruits and vegetables for breakfast and lunch and drink water all day to balance out the pasta and ice cream I eat for dinner and dessert) and am determined to instill/enforce some healthy eating habits with Titus and any future kids. That being said, I am not against pizza, cookies, bacon, or soda here and there, it's all about moderation to me!  My first homemade baby food session was to make apples and avocados for little Titus.  


Here's what I did (it's so easy, I promise!)


Apples for Baby:


Ingredients:

Organic Apples- (I used 4 Red Delicious)


What to do:

Step 1: Peel apples using a peeler or paring knife.


Step 2: Cut apples into chunks. 


Chris did this step for me... he wanted to make sure I'd give him credit for it... Men! 


Step 3: Steam your apples until soft.. 


This can be done in a variety of ways. I used a simple double boiler pan (seen below) but you can use a steamer of any kind!! (I know that they make special "baby food steamers" also... I don't have one, but they look super cute!).


It took about 7-9 minutes for my apples to be done...test that they are soft using a fork or toothpick. 


Step 4: Puree apples with food processor until smooth. (you can also use a blender or special baby food processor, whatever works for you!)


Step 5: Store your baby food. I used these tiny containers that I found at Target. They are the perfect size, freezer friendly, really cute, and they stack nicely. 


That's it! You can freeze the apples you don't plan to use right away, and then pull them out to thaw as needed. 


Titus observing his new meals being prepared :)


Avocados for Baby:

Ingredients:

 Organic Avocados


Step 1: Cut avocados in half.


  Step 2: Using a spoon, scoop out inside of avocado and place in food processor. 


Step 3: Puree avocados until smooth. 


At this point, Titus was down for a nap. Hehe!


Step 4: Distribute pureed avocados into your baby food containers.


Again, you can freeze what you don't need right away and thaw when you are ready. 

Check back soon for additional recipes... next I plan to tackle baby carrots and sweet potatoes! I'll also have some more recipes for the non-babies in your family soon. :) 

-Alison